Showing posts with label recipes. Show all posts

Thursday, August 23, 2012

Simple Balsamic Vinaigrette

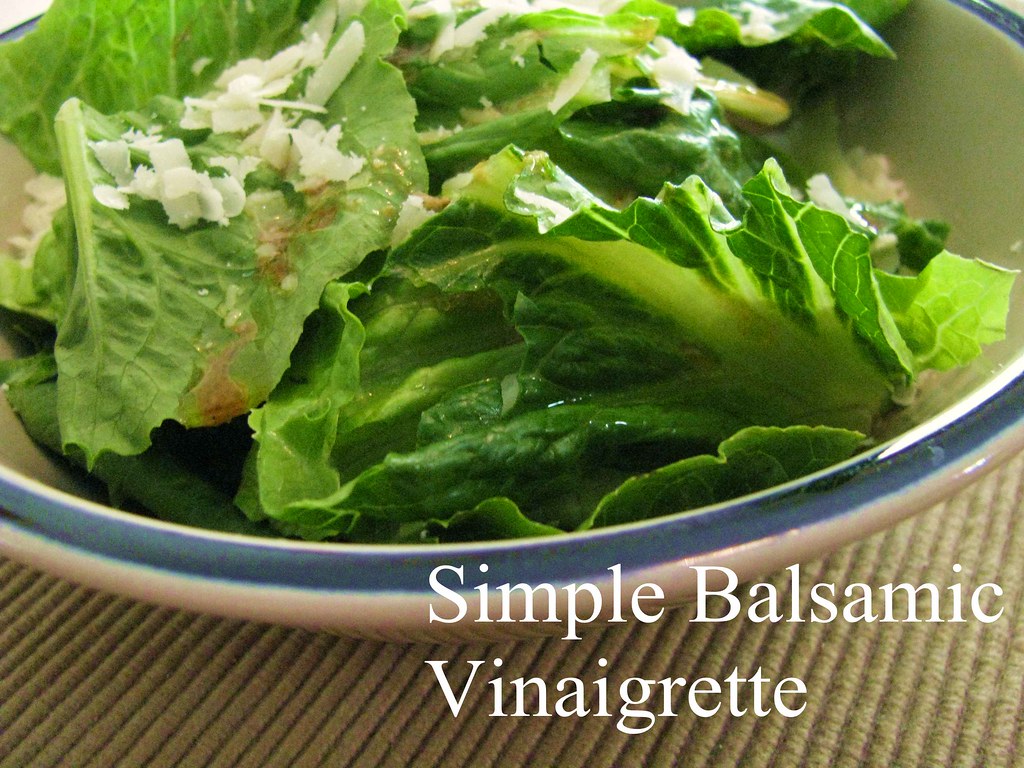
Today, I'd like to share a simple recipe for one of my favorite salad dressing, Balsamic Vinaigrette.  Although you could easily buy it from a store, it's so easy that there's no reason not to make it yourself.

Simple Balsamic Vinaigrette


Ingredients:
3 tbsp extra virgin olive oil
1 tbsp balsamic vinegar
1 tsp Dijon mustard
salt
pepper

Directions:
- Whisk the mustard and vinegar together in a small bowl first.
- Add a bit of salt and pepper to taste.
- Stir while slowly adding olive oil.


Try using a variety of lettuce other than iceberg.  There's really no way to make iceberg lettuce taste good other than to drown it in ranch, cheese, and bacon bits.  For my lunch salads, I like to have romaine lettuce with Balsamic Vinaigrette and grated Pecorino Romano cheese on top.

Monday, August 13, 2012

BTCG: Microwave Treat Recipes

Back to College Guide

Welcome to the second post in our Back to College Guide.

One of the strangest things for me about living in a dorm was not having a kitchen.  While some dorms do have kitchen access, most college students living on campus are usually stuck with just a fridge and a microwave.  There are endless types of microwave meals available, but these aren't the only options you have.  It's actually possible to cook some pretty tasty things using just a microwave.

Here's a few ideas for microwave cooking that we've gathered from different sources.  These all make a single serving, so even if you have a full kitchen available, you can use these recipes for when you want a treat, but don't want 23 extra cookies hanging around afterwards.


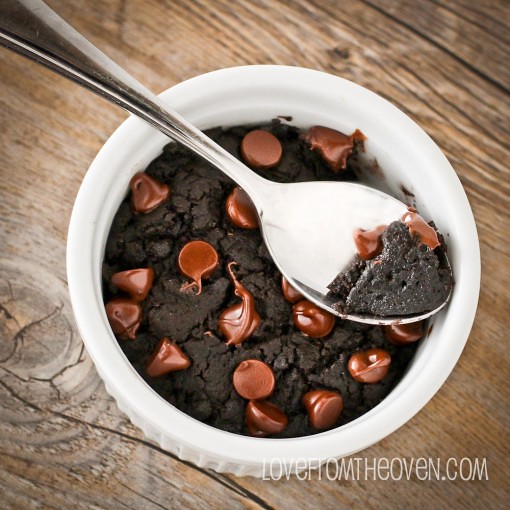
Single Serve Brownies
Recipe for Single Serve Brownies by Christi at Love from the Oven


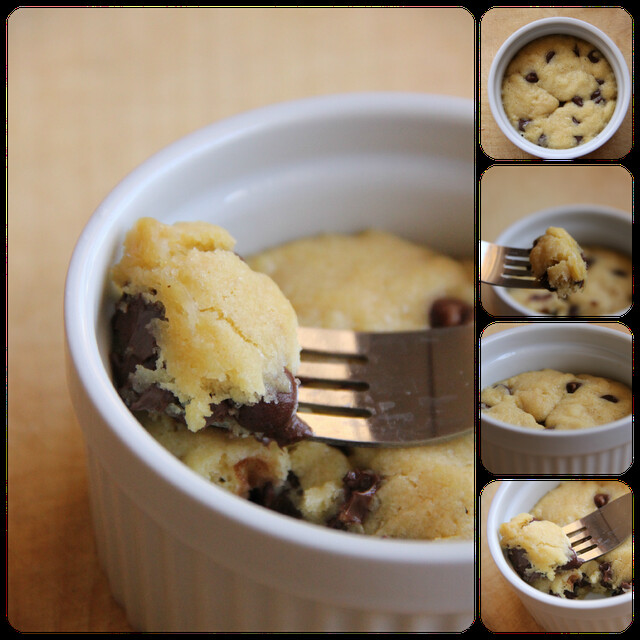
Chocolate Chip Cookies


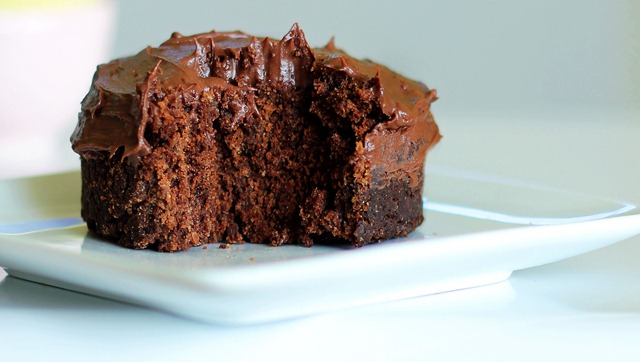
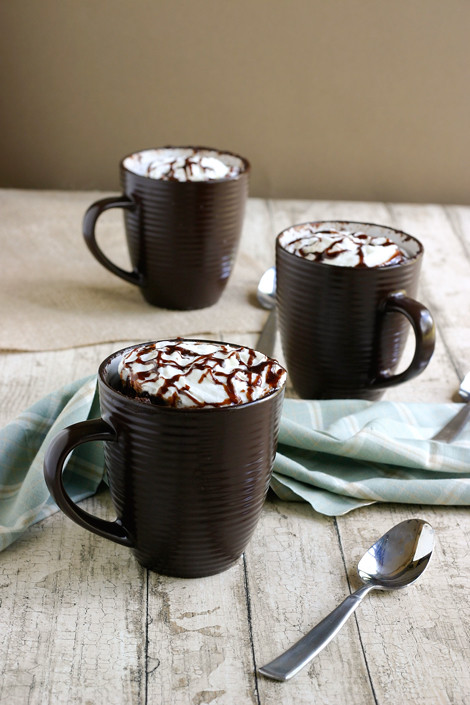
Chocolate Cake in a Mug


Nutella Mug Cake
Nutella Mug Cake by Angie McGowan on Babble


Mug of Mac and Cheese
Mug of Mac and Cheese by the Naptime Chef on Babble


Quick note:  So far, I've only tried the first two of these, and they've turned out well.  In these recipes, I usually replace an egg with 1/2 tbsp vegetable oil and 1/2 tsp baking powder.  Then, you can undercook the cookies without having to worry about getting sick.

These turned out to be more microwave baking recipes rather than microwave cooking recipes.  I know that there's lots more out there that can be made in the microwave.  Does anyone have any other suggestions for easy microwave recipes?

If you didn't catch last week's BTCG post, why not see our suggestions for DIY Recycled Decorating Projects.  You can also see the third part - Guide to Writing an Essay.

Wednesday, February 1, 2012

Chocolate Caramel Hearts

Since it's the first day of February, that means there are about two weeks left until Valentine's Day.  Regardless of whether you enjoy celebrating this day or not, you should certainly try making some of these Chocolate Caramel hearts.

Chocolate Caramel Hearts


I found this recipe in the August 2011 issue of Glamour.  While the instructions suggest using round pans and calls them chocolate caramel minis, I decided to make mine in heart shaped holders instead.

There are three parts to this relatively easy recipe.  It starts with a graham cracker crust, then a layer of caramel, and a layer of chocolate ganache.  I didn't think to take pictures of the process as I was making them except to take a picture as I was making the caramel.  The steps might seem difficult if you've never made caramel or ganache before, but all that you have to do is follow the directions.  I had never made either one before I tried this recipe, and I didn't have any difficulties.

Allow at least 3 and 1/2 hours to make these chocolate caramel pies.  Most of this time will be only require waiting for the different layers to set in the fridge so you can do other things in between each of the steps.

Also, if you don't want to make several small pies, you can make a 9" pie.  For this, Glamour recommends pouring the layer of ganache before the layer of caramel to make it easier to cut.

For the graham cracker crust you will need:
1 1/4 cups crushed graham crackers
1/4 cup brown sugar
3 tbsp unsalted butter, melted

Preheat the oven to 350 degrees F.  Then, mix together the crackers, sugar, and melted butter.  Divide the mixture into your mini pie pans (mine made 4 mini pies) and press out into a crust.  Place in the fridge to chill for 15 minutes.  Finally, bake for 10 minutes and let cool.


For the caramel you will need:
3 tbsp corn syrup
1 1/2 cups sugar
1/2 tsp fleur de sel
1/3 cup water
1/3 cup unsalted butter
1/3 cup heavy cream
1 tbsp sour cream

Over medium heat whisk corn syrup, sugar, fleur de sel, and water in a sauce pan.  Bring mixture to a boil until the color is a deep amber.  Be patient because this might take some time, but make sure to watch so that you don't overcook here.  Remove the pan from the heat and carefully whisk in the butter, heavy cream, and sour cream until the mixture is smooth.  Pour a layer of caramel into the already baked mini crusts (filling about half way.)  Let this cool for 30 minutes.  Place in the fridge for about 2 hours to let the caramel cool completely.
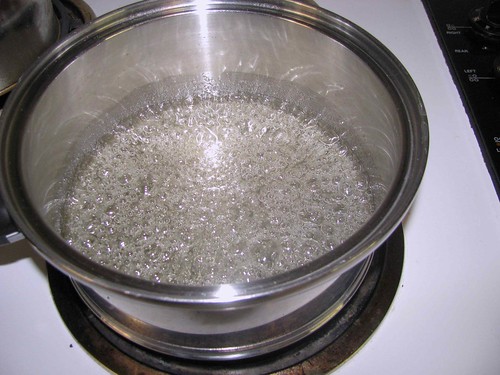
How to Make Caramel on the Stove
Waiting for the corn syrup, sugar, fleur de sel, and water to turn amber.


For the chocolate ganache you will need:

1/2 cup heavy cream
4 oz. bittersweet chocolate
a little fleur de sel for garnish

Over medium heat, bring the heavy cream to a boil.  Place chocolate in a bowl and pour in hot cream.  Let this sit for one minute.  Then, stir in one direction until smooth.  You will pour a layer of chocolate ganache over the chilled layer of caramel.  Place it in the fridge for an hour to set.  Finally sprinkle with fleur de sel and enjoy.

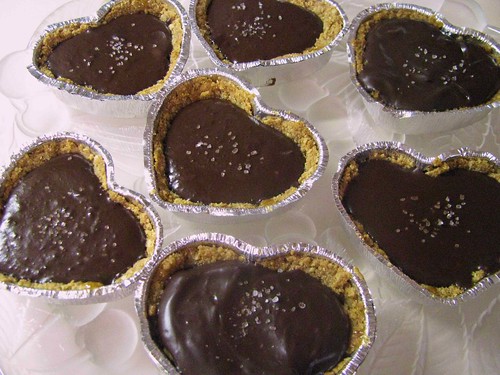
Your finished chocolate mini hearts should look something like the first picture.  As you can see, I didn't quite manage to get the graham cracker crusts completely perfect, but the taste is so good that it doesn't matter.

I will definitely be making these again!

Update: We've linked this post on The Find Some Love Fest. There are tons of links to cute Valentine's posts and more will be added until February 14th, so check it out!

Saturday, December 10, 2011

Baked Zucchini

During the holiday season, it can be difficult to find a balance between delicious and unhealthy when it comes to food.  One recipe that is both very flavorful, but still healthy, is one for baked zucchini which I found in Vegetarian and Vegetable Cooking.  I didn't know that I liked zucchini before I tried this recipe, but since pretty much everything is good when there is cheese involved, I decided to try it.  It's a bit early, but if one of your New Year's resolutions is to eat more vegetables, this would be a good start.  Also, I think it would be a good appetizer for a Christmas dinner especially if you cut each zucchini in half.

Baked Zucchini with Goat Cheese


Enjoy!

Ingredients:
4 zucchini
1 tablespoon olive oil
4 oz goat cheese
black pepper
salt  


1. Preheat oven to 350°F.
2. Cut 4 rectangles out of foil, one for each zucchini, and brush olive oil on each rectangle.
3. Make a thin slit along the middle of each zucchini, and place zucchini on the rectangle of foil.  You'll want to make sure that the slits are wide enough to accommodate the amount of cheese you plan to place in them.  
4. Place bits of goat cheese into the slits. (I used a lot in each!)  Sprinkle with olive oil, black pepper, and salt.
5. Wrap each piece of foil around a zucchini.  Put on a baking sheet, and bake for about 25 minutes.

Monday, July 25, 2011

Easy Chicken Skillet Recipe with Onions

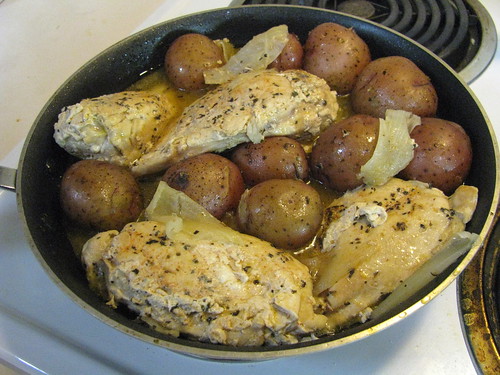
Chicken Skillet Recipe with Onions
I got this recipe from the All New Diabetic Cooking Cookbook from the one dish wonders sections. This is a great cook book if you’re cooking for someone who is diabetic or want to cook healthier and avoid calories from sugar. Every recipe has a count of calories and nutrients per servings. I tried this recipe one night because I was looking for an easy to fix meal, but I didn’t have all the ingredients so the recipe became chicken skillet with onions instead of chicken skillet with pearl onions. I’ll include the ingredients they recommended and the ingredients I substituted. I thought my improvised version turned out well. I hope you enjoy!

Makes four servings
Ingredients:
2 cups of water
1 pound small new potatoes (or 1 pound small potatoes*)
8 ounces fresh pearl onions, blanched and peeled, or frozen pearl onions thawed (or 1 small regular onion sliced*)
1/2 teaspoon salt
1/2 teaspoon onion powder
1/2 teaspoon garlic powder
1/2 teaspoon chili powder (or 1/4 teaspoon of cayenne pepper powder*)
1/2 teaspoon dried oregano (or 1/2 teaspoon basil*)
4 boneless skinless chicken breasts
2 tablespoons olive oil

1. Put water, potatoes and onion(s) and water into a large nonstick skillet and bring to a boil. The burner should be on medium to high heat. Once it comes to a boil cover and boil for about 12 minutes. You may need to reduce the heat a bit to make sure it doesn’t boil over. After 12 minutes stick one of the largest potatoes with a fork. If the potatoes is soft and easily pierced then it’s ready. Drain the potatoes and onion(s) and set to the side.
2. Mix salt, onion powder, garlic powder, cayenne pepper or chili powder, and basil or oregano together. Sprinkle the mixture over both sides of the chicken.
3. Heat 1 tablespoon of olive oil in the skillet you just used for the potatoes and onions over medium-high heat. Once the olive oil is heated, add the chicken. Cook the chicken for 5 minutes then turn. Add the potatoes and onions back into the skillet with the chicken and drizzle the rest of the olive oil over the mixture. At this point I added a bit of extra water to make sure the chicken would stay moist. Cover the skillet and cook for five minutes or until you are satisfied that the chicken is not pink in the middle anymore. Let everything stand for 3 minutes and then serve

Wednesday, February 2, 2011

Pesto and Mozzarella Pizza


If you want a quick, but still delicious lunch for one or two people, then this is a perfect idea.  I like to make this pizza for myself for lunch.  I usually have two pieces and leave the other two for later.  You might think that I would get to eat the other half for lunch the next day, but someone else always eats it before then.

Start with a 6.5 oz packaged pizza dough mix.  Prepare the dough according to the directions.  Be sure to go ahead and preheat the oven to the temperature indicated on the package.  Grease a 9 inch cake pan.  Press the dough into the cake pan.  Spread 2 teaspoons of olive oil over the top of the dough.  Then, spread 3 generous tablespoons of pesto over the dough.  If you feel the need to, add more pesto.  Follow with half a cup of mozzarella cheese.  Place the cake pan of dough in the oven for 7 to 8 minutes depending on your oven and the directions on the package.  I find that the amount of time usually recommended is entirely too long for my oven so pay attention because it won’t take long to accidently burn the pizza.  Remove from oven and cut into four slices.  Eat the entire thing by yourself or share with a friend.

Monday, January 24, 2011

Cranberry Drop Scones


This scone recipe is one from my mom.  She says that they are not nearly as good as the ones she used to eat when she lived in England.  I've never had scones in England, so I don't know, but I personally like these scones just fine.

This is one of my favorite breakfast recipes.  It's easy and quick as well as perfect if you have company over and don't want to spend lots of time baking but still want to have a yummy breakfast.

Cranberry Drop Scones

Ingredients:
3 cups biscuit mix (I use Jiffy's)
1 cup milk
2 Tbs sugar
2 Tbs butter, melted
1/2 cup dried cranberries

Preheat the oven to 425 F.
Mix all of the ingredients together in a bowl until well combined.
Drop the mixture by spoonfuls onto a lightly greased baking sheet.
Then, put a little water on your fingers and smooth the dropped spoonfulls into little mounds.  This will keep the edges that were sticking out from burning. 
Place the scones into the oven and bake for 10 to 12 minutes.

Makes between 20 and 24 scones.

Counting the baking time, the entire process takes about 15 minutes.  Not too difficult for early in the morning.

LinkWithin

Related Posts Plugin for WordPress, Blogger...