
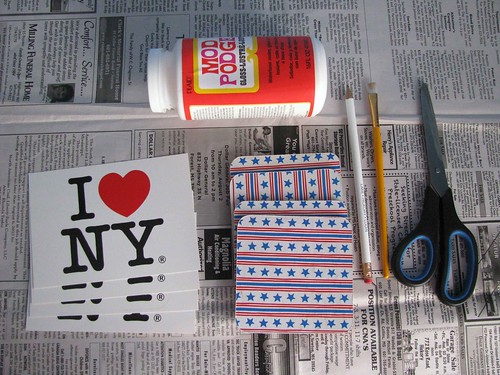
For supplies you'll need: Modpodge, postcards, old coasters, a pencil, a paintbrush, scissors and a clear enamel spray (not pictured)

Step One: Trace the outline of your coasters on the front of the postcard.

Step Two: Cut the postcard along the lines you traced.

Step Three: Apply a layer of modpodge directly on the coaster. Then place the postcard cut-out over the coaster.

Step Four: Apply a topcoat of modpodge over the coaster. Don't worry, it will dry clear.
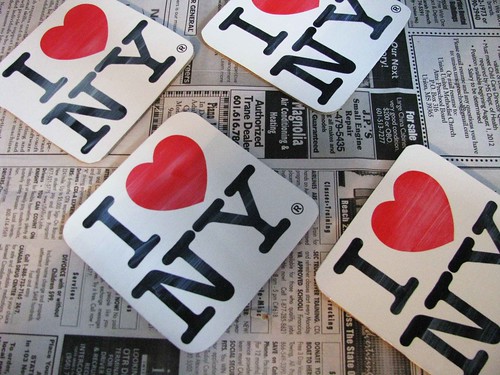
Step Five: Allow the coasters to dry, and then, seal with a clear enamel topcoat. Once dry, your coasters are ready to use.
Love this! What a great idea for a gift!!
ReplyDeleteGlad that you like it!
ReplyDeleteGreat idea!
ReplyDeleteLove the coasters! Looks so simple to do:)
ReplyDelete